


Over the last few weeks, I’ve felt like a plumber with a house full of leaky taps.
I’ve been writing about gardening, gardening at CBHG and working at the garden centre but not doing anything in my own garden.
Not this week however.
This week, I’ve finally got back out there and learned a bit more about gardening whilst I was at it. (A reminder that the very best way to learn is by doing!)
Here’s the useful discoveries I made that I think will be useful for you too…
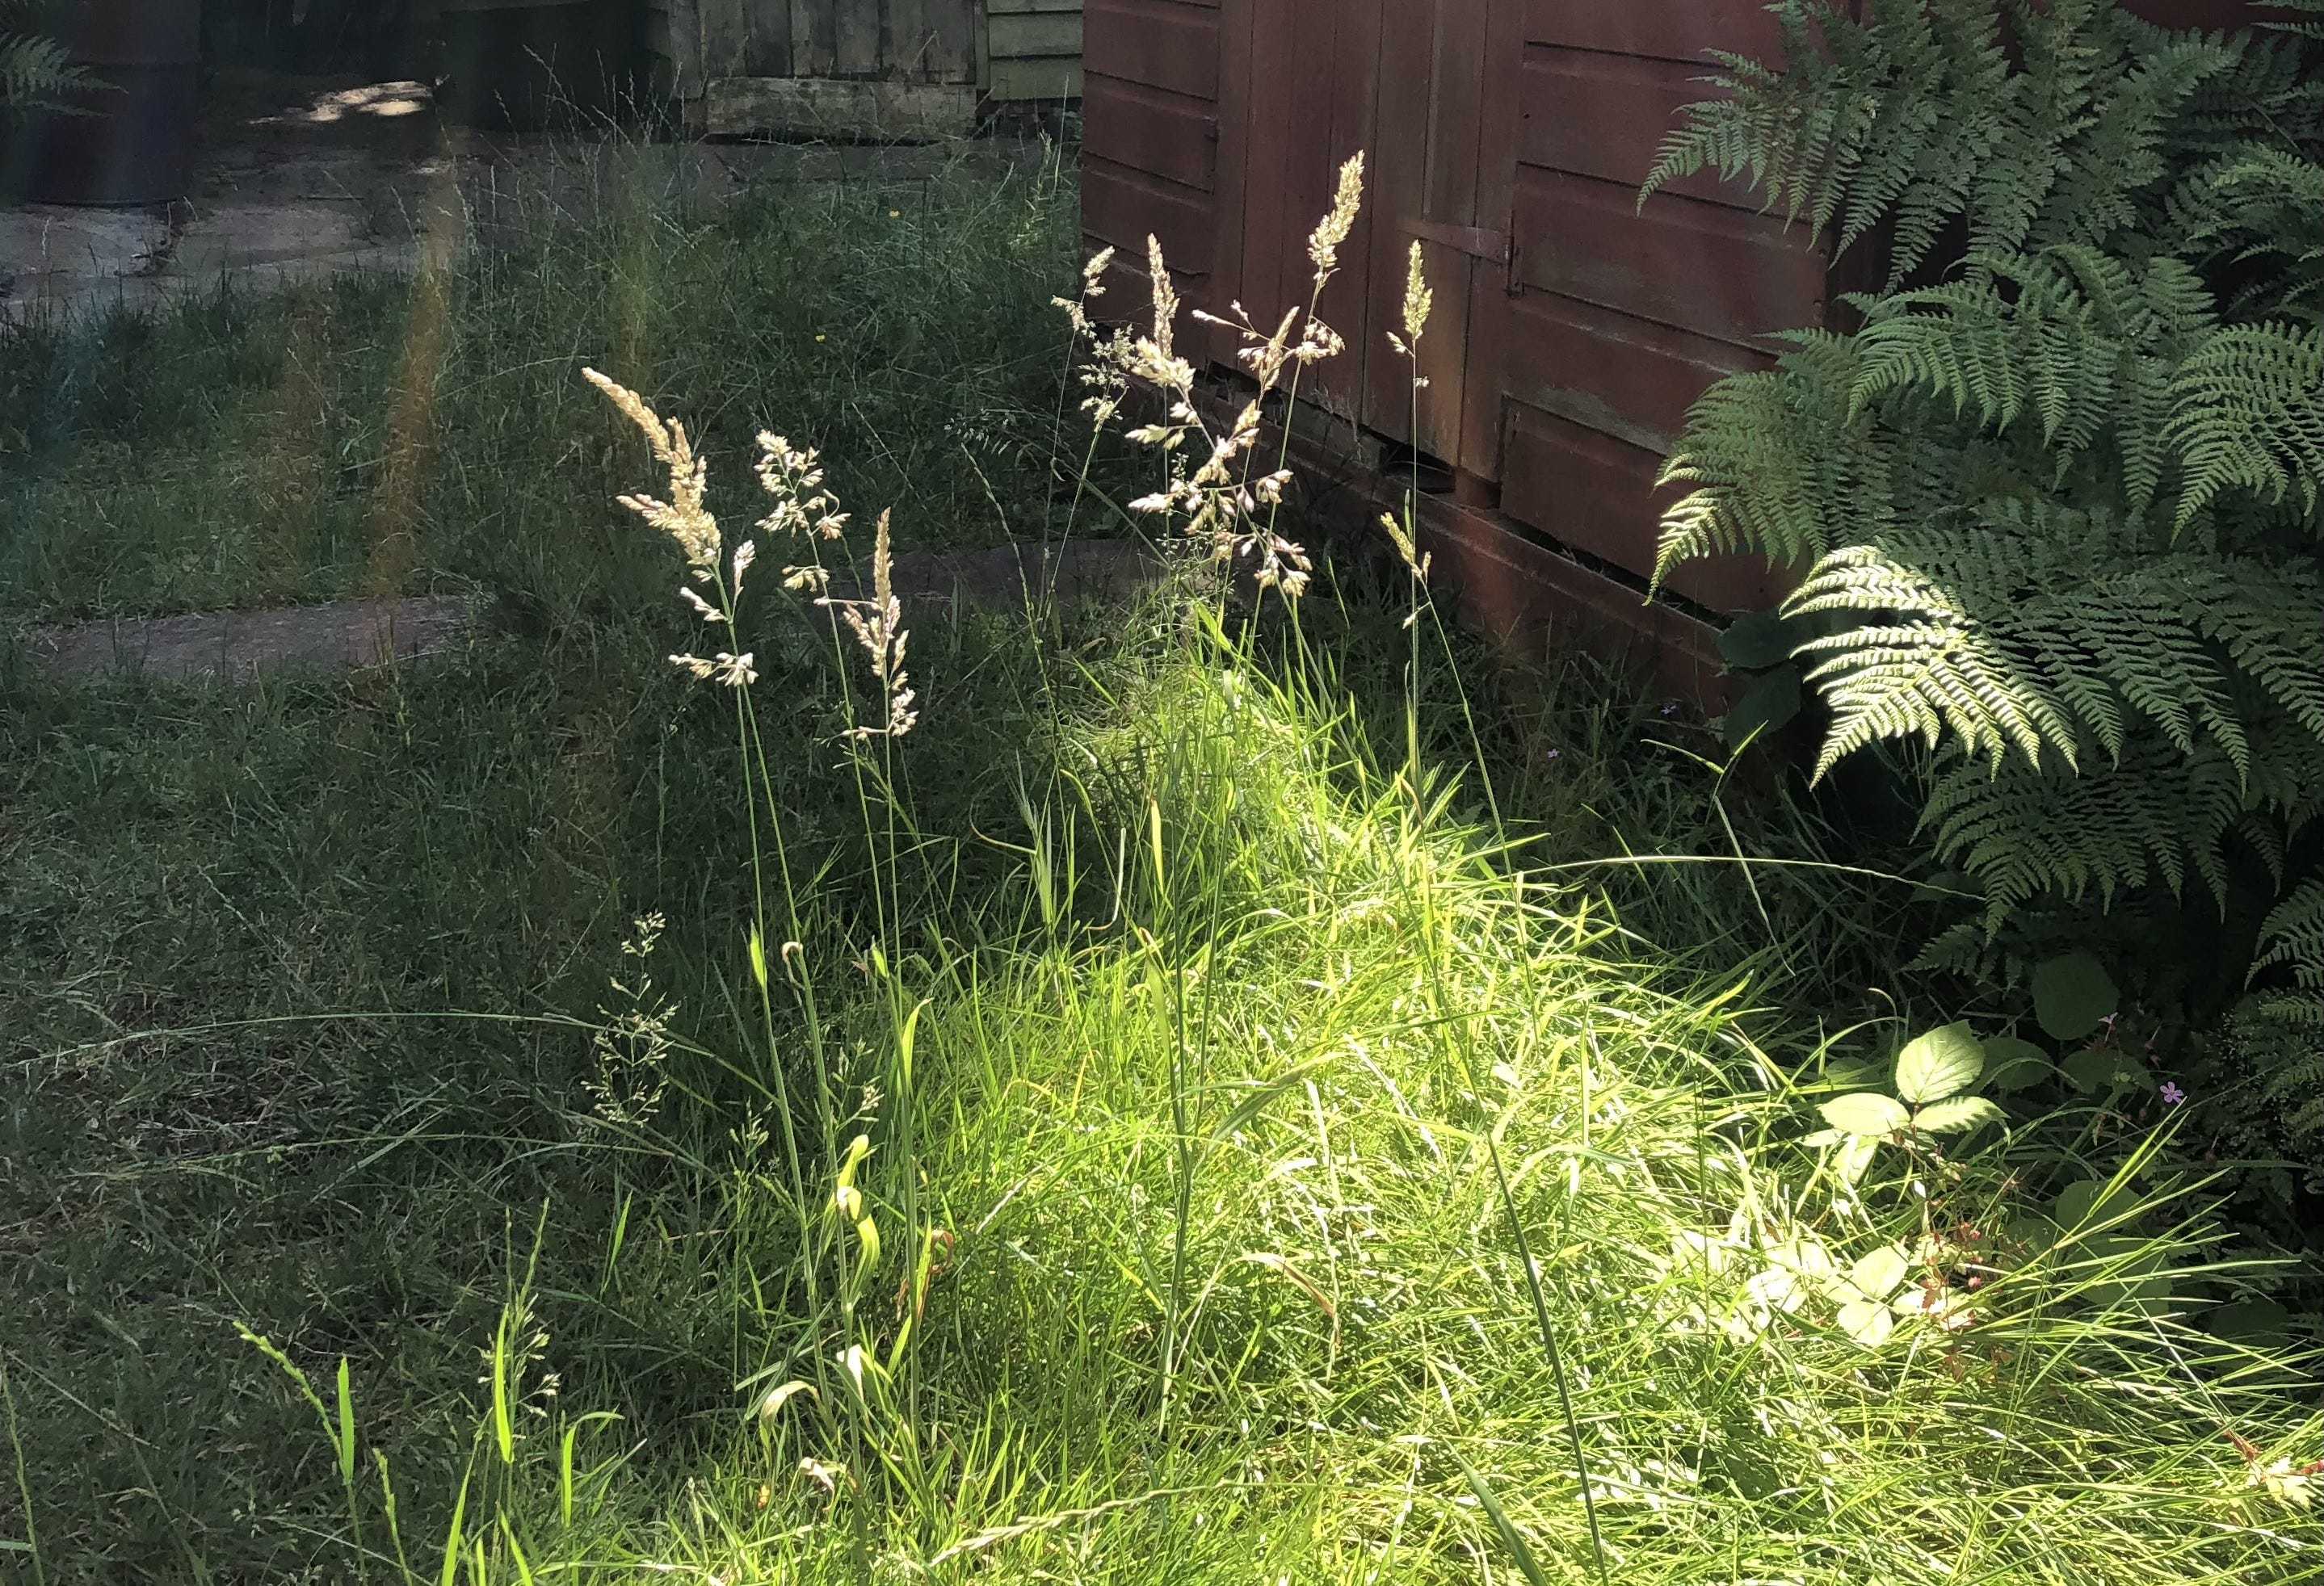
Discovery #1: No Mow May + June + July = free ornamental grasses (and clover!)
At the end of June, having extended No Mow May until then, I decided it was time to sculpt my lawn.
This meant cutting just some of the grass; I haven’t touched the lawn at all since. And now I have ornamental grasses in the long sections and clover (trifolium repens) where I mowed.
The grasses look gorgeous blowing in the summer breeze and catching in shards of sunlight. As we sell ornamental grasses very similar to these at the garden centre, I’m pleased I’ve acquired mine for free.
And I’m thrilled with the clover because it brings more flowers into the garden for pollinators like bumblebees and common blue butterflies. (Plus, who can resist the possibility of a lucky four leafed clover?)
Even in July, I’m still a fan of No Mow May.
I hope you are too!
Discovery #2: Hardy geraniums will return
At the end of June in my post How to make your garden shine a little brighter, I recommended that you cut back your hardy geraniums.
I did just that to generate new foliage and hopefully, soon, a second flush of flowers.
This is what my geraniums looked like a month ago after their haircut.
And this is what they look like now:

If you cut back your geraniums in midsummer they will come back brighter. And only in a matter of weeks too!
Discovery #3: Spring blossom will transform
Back at the beginning of May, I spread fallen cherry blossom mulch between the plants in my borders. It created a pretty pink carpet… which evolved into beige sludge. Now we’re at the end of July however, the blossom has broken down and disappeared, enriching and improving my soil.
I bunged the spare blossom into an old recycling box and shoved it under a garden table. I’ve stirred and turned it a couple of times and added some rain water just once. My recycling box is now full of beautiful rich mulch which I’ll put on my borders in the autumn.


If you decided to cut back your geraniums and make some blossom mulch, both endeavours should have been a success.
If you didn’t, you can try these gardening hacks next year, knowing they will work because they’ve been tried and tested!
Discovery #4: The colour of your hydrangea can be influenced by your soil’s ph level
The hydrangea in my garden is multicoloured.
By that I don’t mean that it changes from one colour to another, I mean that it is three colours at once!
Most of its blooms are dark, dusky pink like this one:
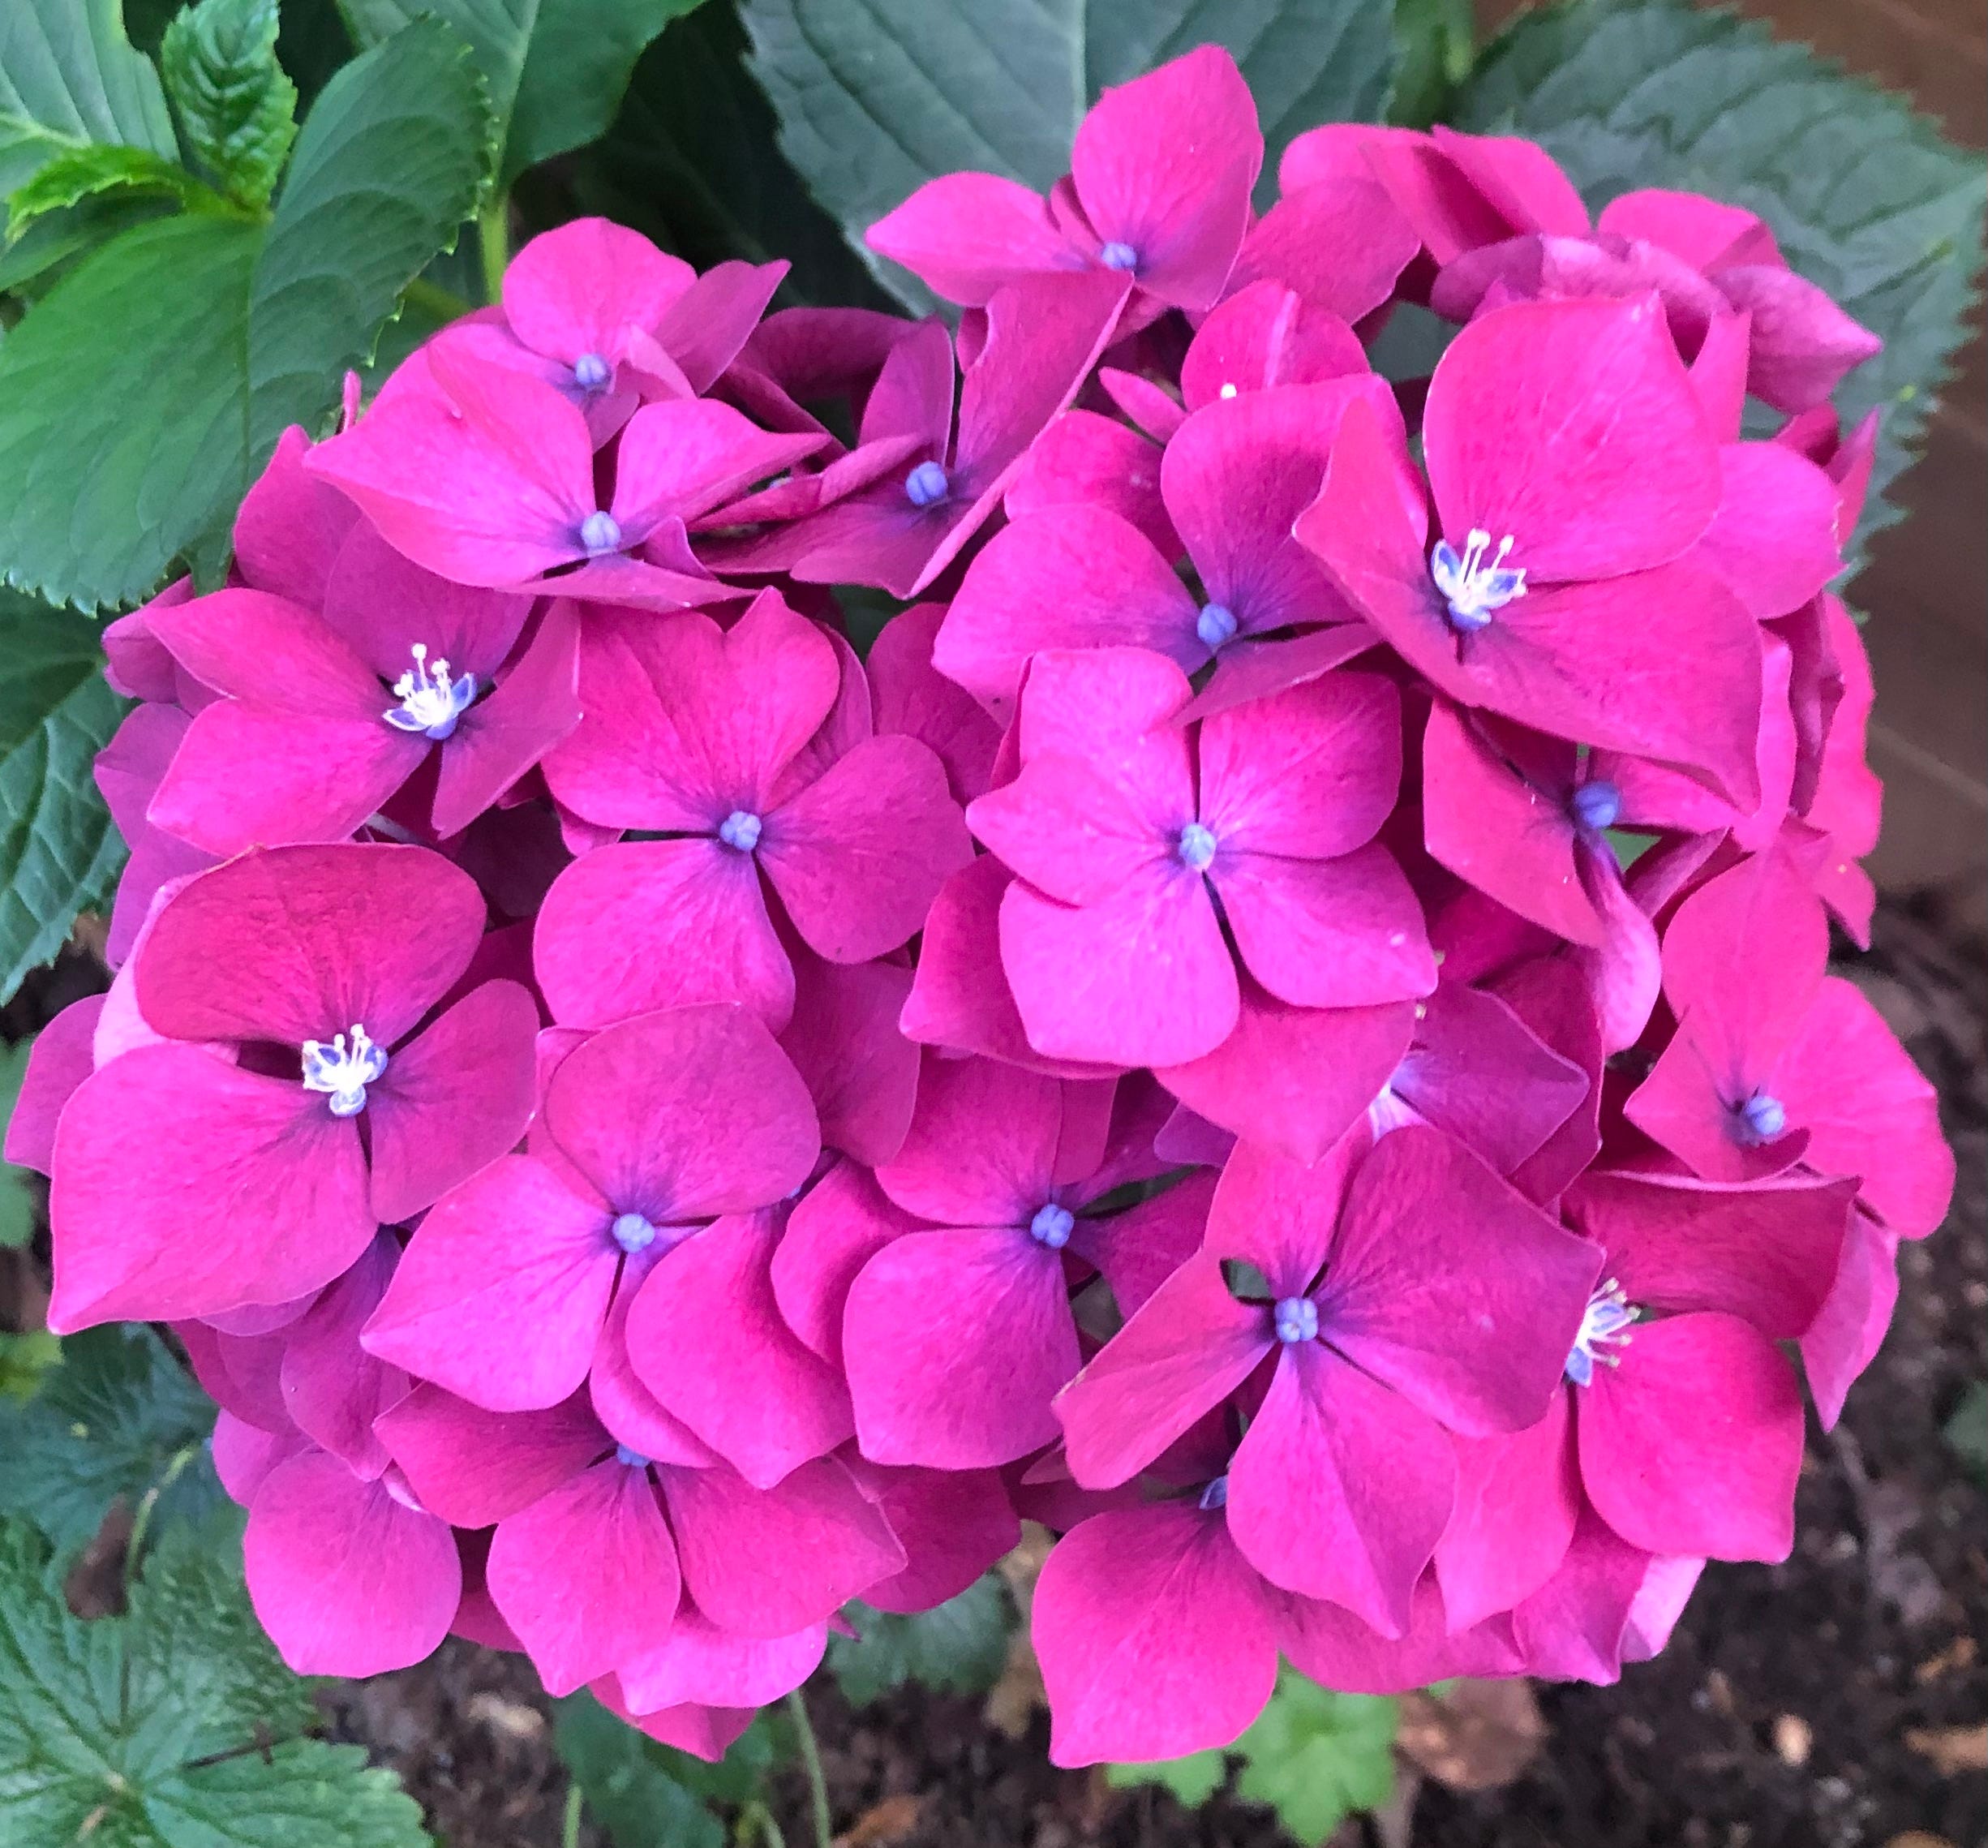
But the largest bloom is pink, purple and blue - all at the same time, which is a bit confusing!

And it turns out that it’s the ph level of my soil that is causing all the confusing colour changes. Because mine is acidic, it’s turning my pink hydrangea, blue! And there’s much to learn from this:
If you have a blue hydrangea, it’ll need an acid soil or ericaceous compost to retain its blue colour.)
I won’t be trying any of these techniques however as I’m happy with my multicoloured hydrangea.
I think it’s beautiful!
Discovery #5: How to support a drooping plant
The torrential downpours we’ve had this summer have battered my hydrangea and this week its blooms were drooping down and brushing the garden path.
Luckily, 53 minutes into last week’s episode of Gardeners’ World, Gordon Bailey the Head Gardener at Arley Hall demonstrated how he stakes his plants.
He uses a method that aims to ensure you can’t see the plant is being supported and it doesn’t look like it's ‘trussed up like a chicken’ but instead has ‘a natural shape to it.’
I used Gordon’s method to create a support for my hydrangea to lift its flowers back into position.
This is what Gordon did (and what I learned to do!)
Space some bamboo canes around the plant.
Wind gardening string around each cane twice, to stop the string sliding, making a horizontal to hold the plant up.
Cut the canes down using secateurs to create a sort of low fence around the plant – high enough to support it but low enough to be hidden by the foliage rising above it.
This staking method worked a treat on my hydrangea, doing the job without being obvious about it. I’ve discovered a useful technique that I hope you’ll find useful too.
This July, I’ve learned a lot about gardening.
I’ve discovered that not mowing can encourage ornamental grasses and clover into your garden.
I’ve learned that hardy geraniums definitely can survive a midsummer haircut and blossom quickly breaks down into a good, rich mulch.
I’ve found out how your soil’s ph level can impact the colour of your hydrangeas and also how to support them if they start drooping.
What have you learned about gardening this July?
Why not let me know in the comments below : )